
.
..do good things come in two?
Last year we made our Hyllis Ikea Hack and we love it to this day…
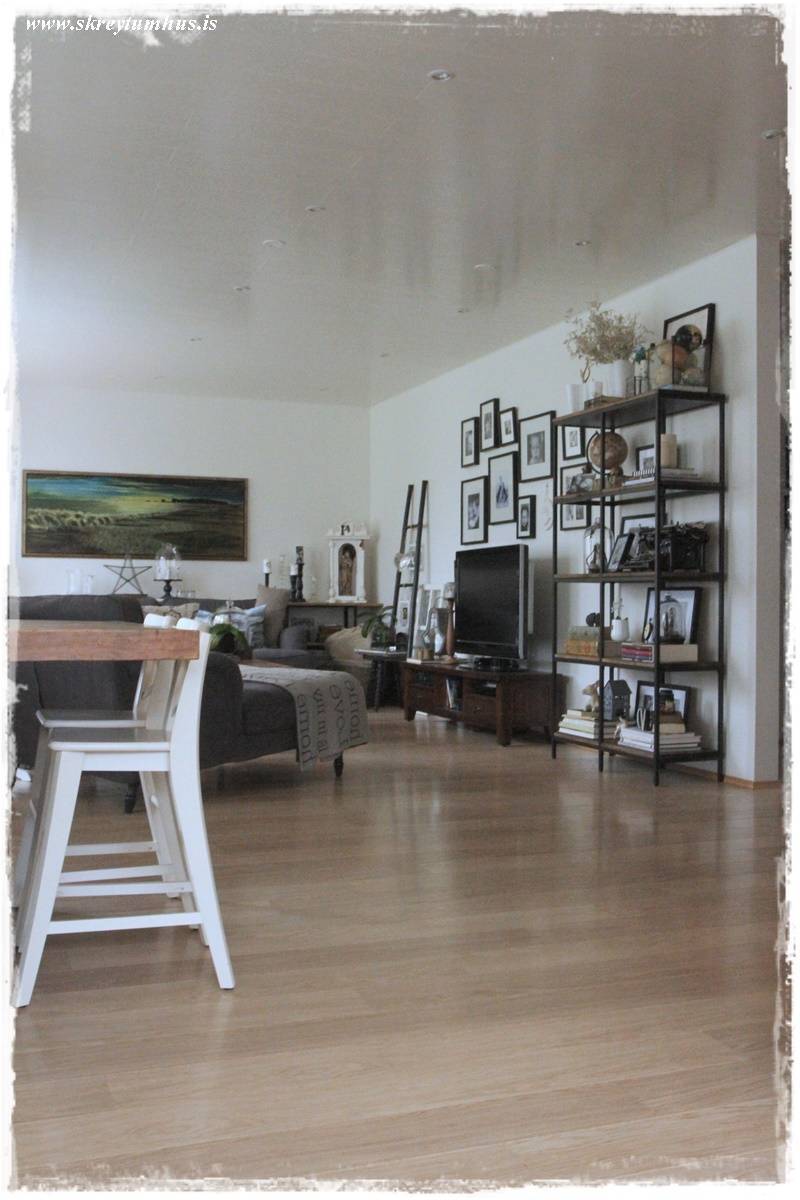
…The one “flaw” we could find with it, was the location, as it is behind our couch 😉
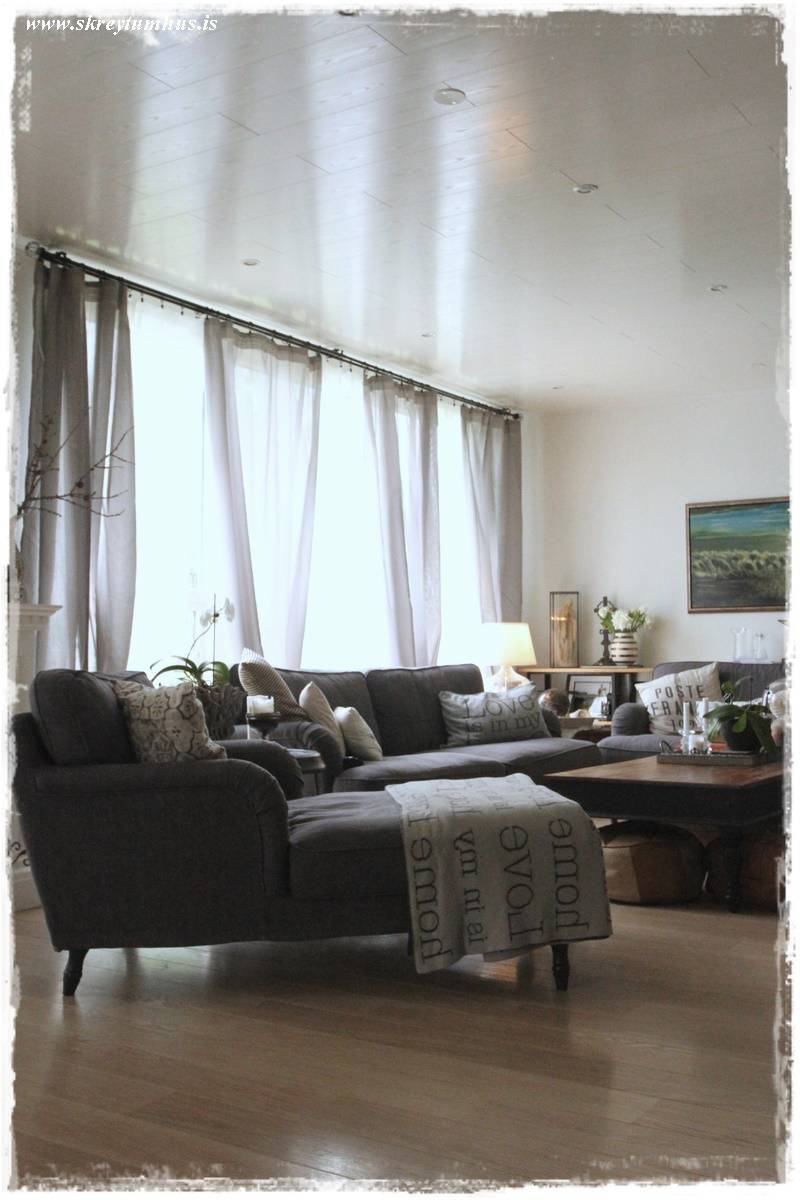
So this is our living room…
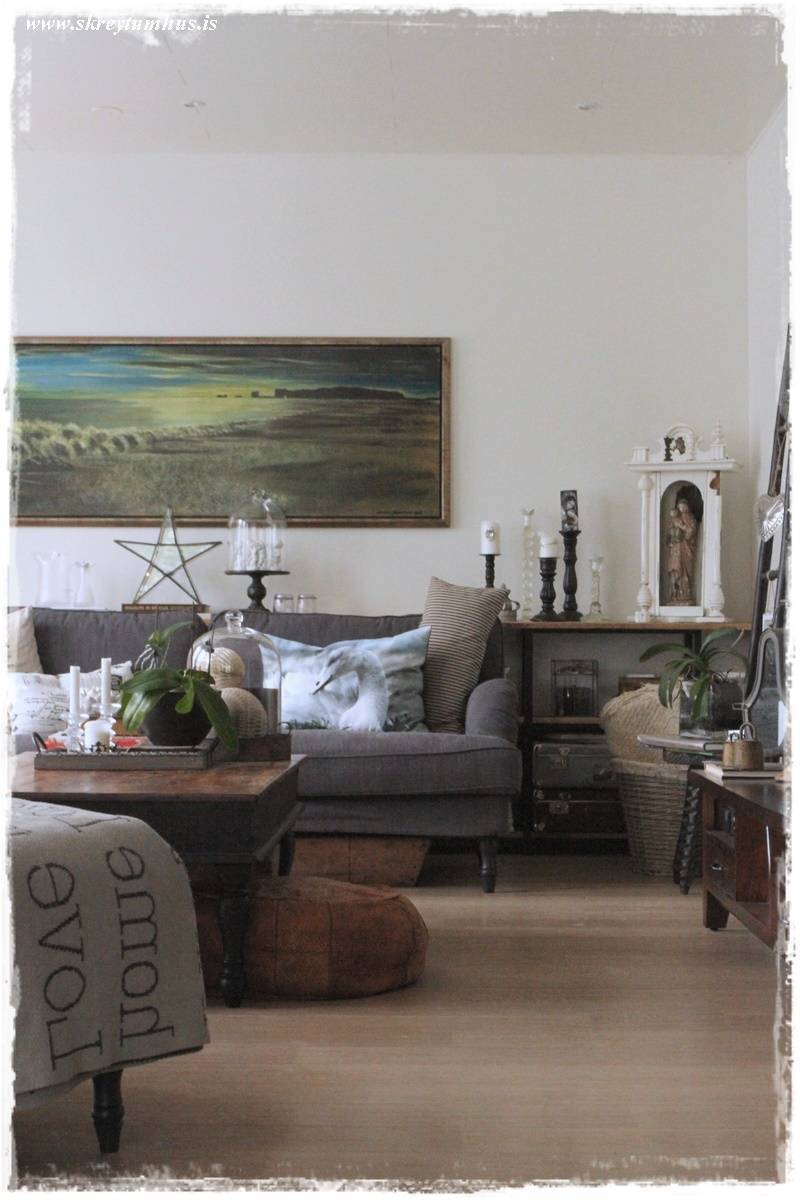
…so we decided to make “the sequel”.
Hurray!
This time we decided to fix up the Vittsjö from Ikea…
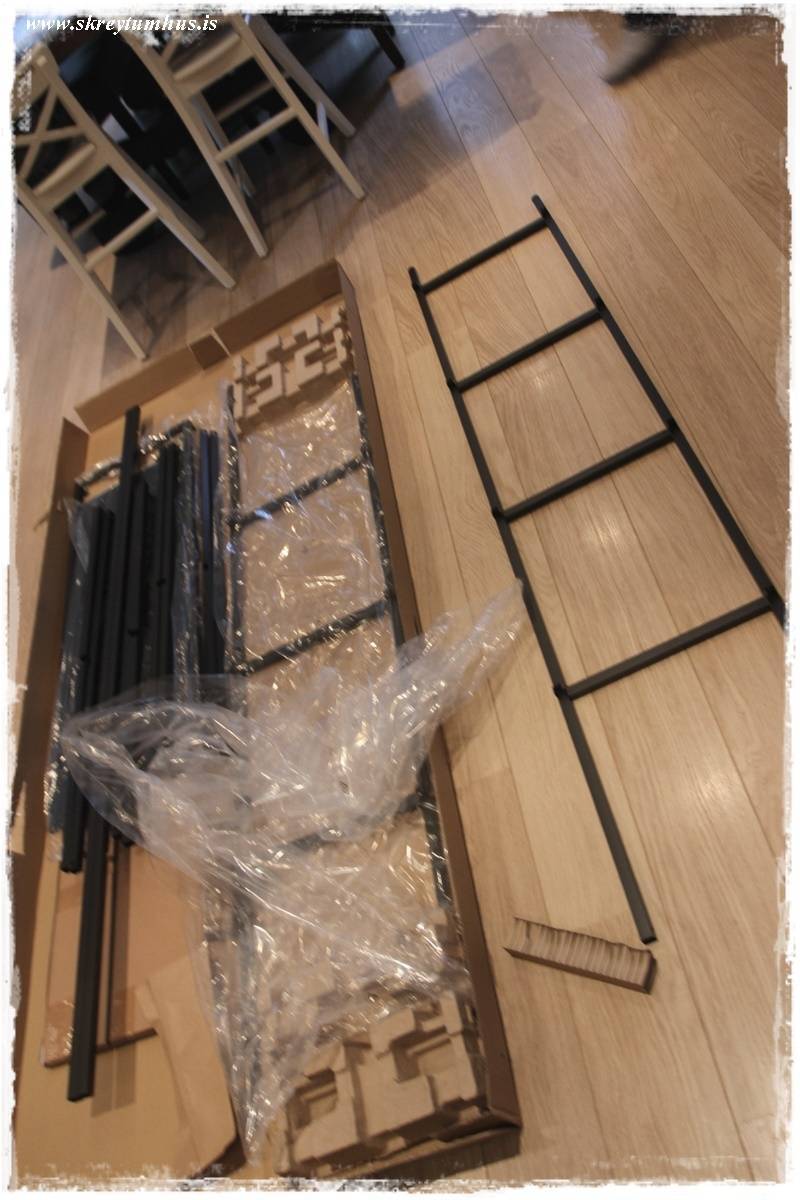
…first step – put it together!
You have two choices, either use the Instruction manual, or – do as I did – “honey, can you put this together for me” 🙂
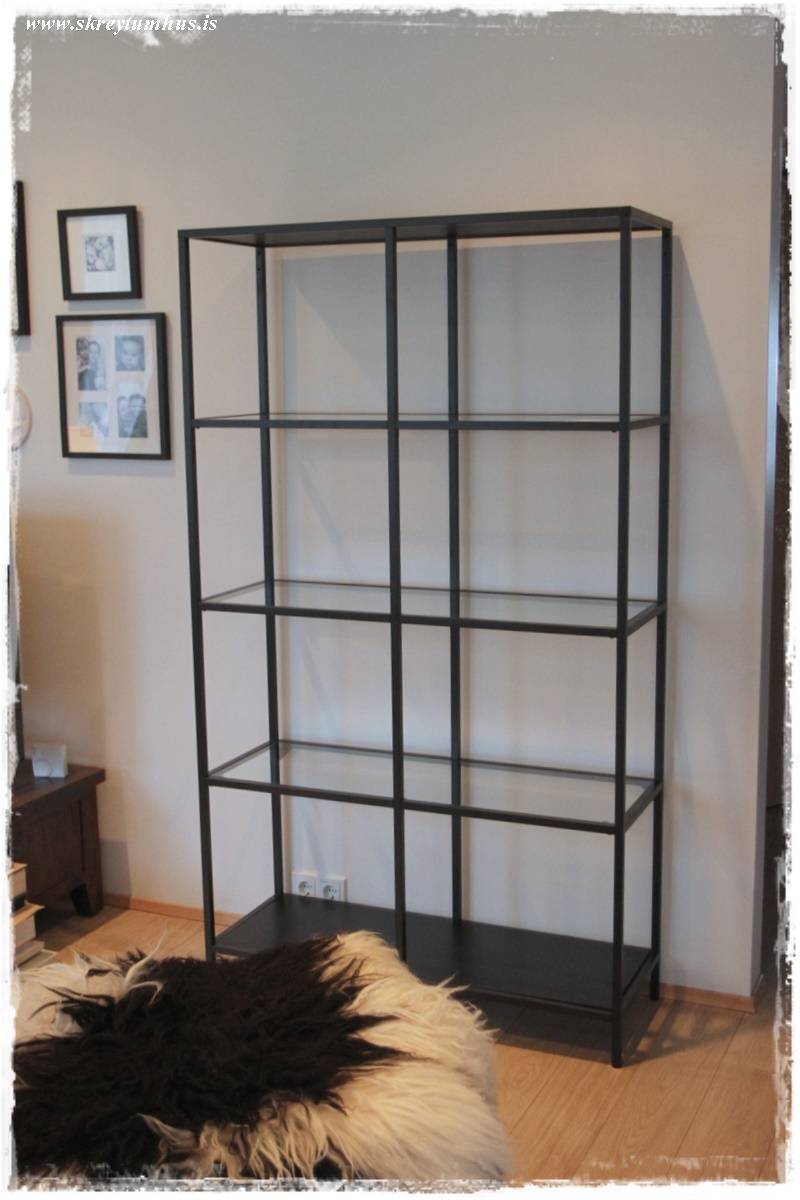
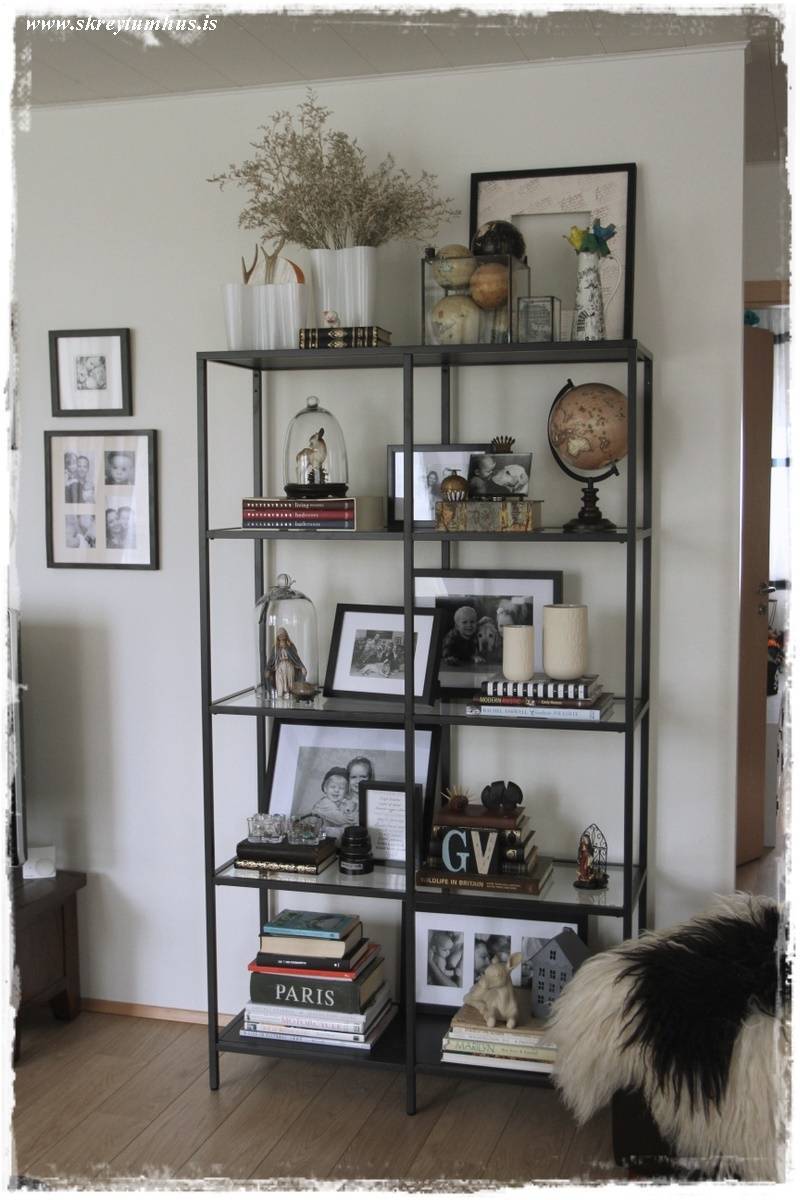
…so I could not wait, and decided to style it right away…
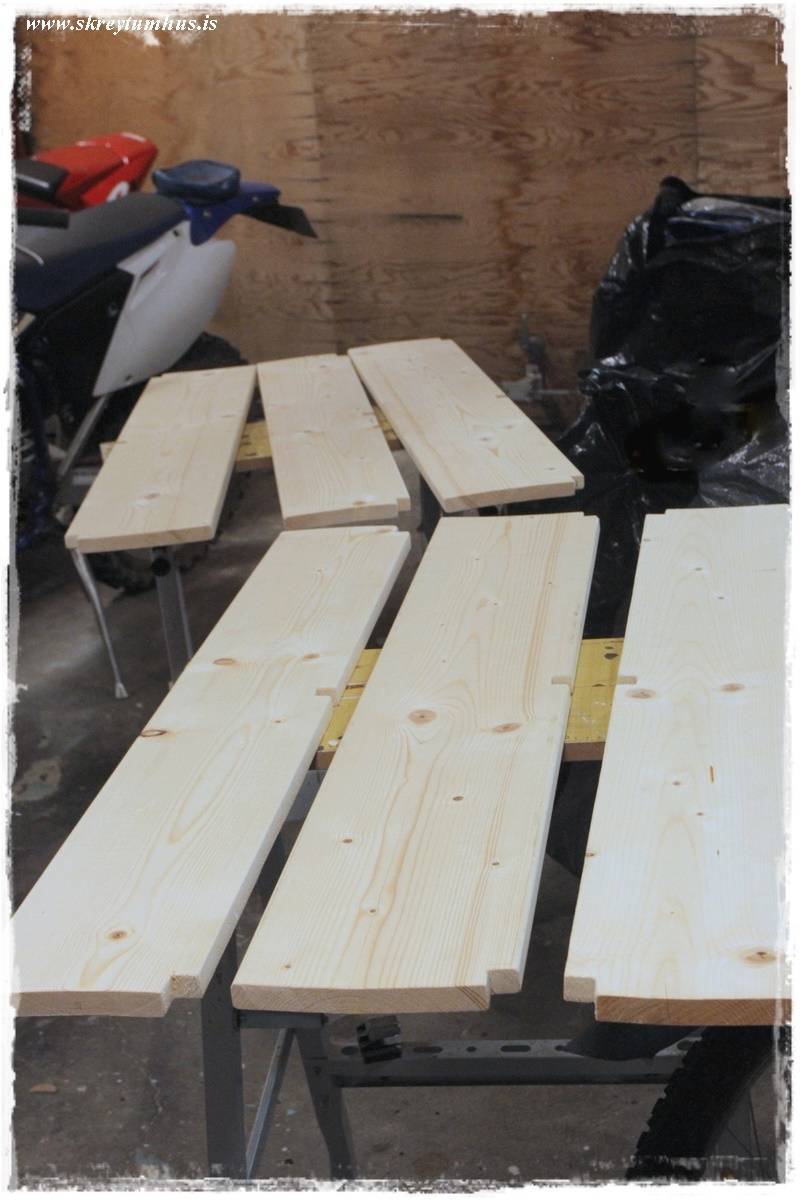
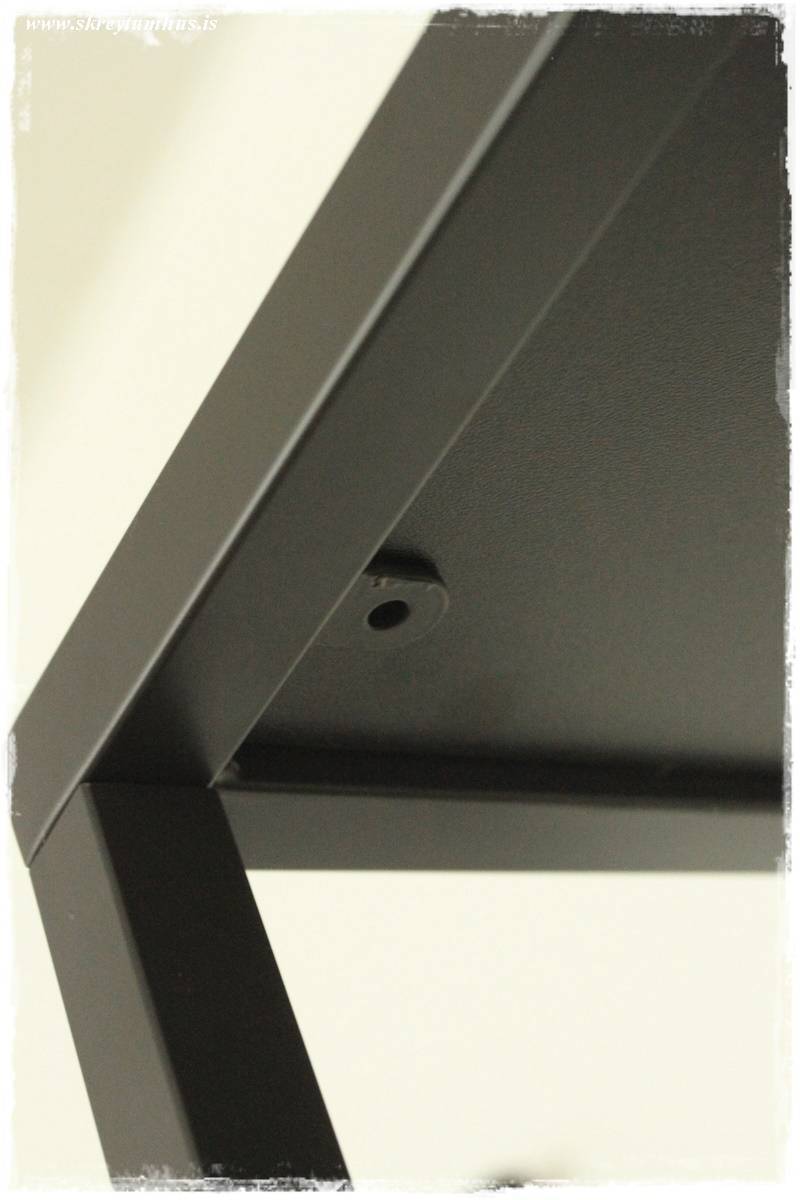
…but lets get “hacking” – we went to the local hardware store and had some wood cut down to size…
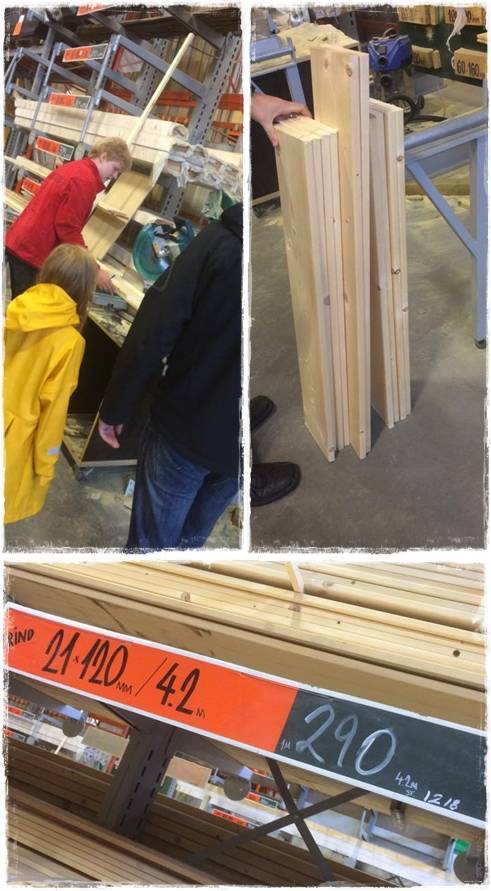
…hubby made cuts in all the right places and the pieces came together…
…as you can see here…
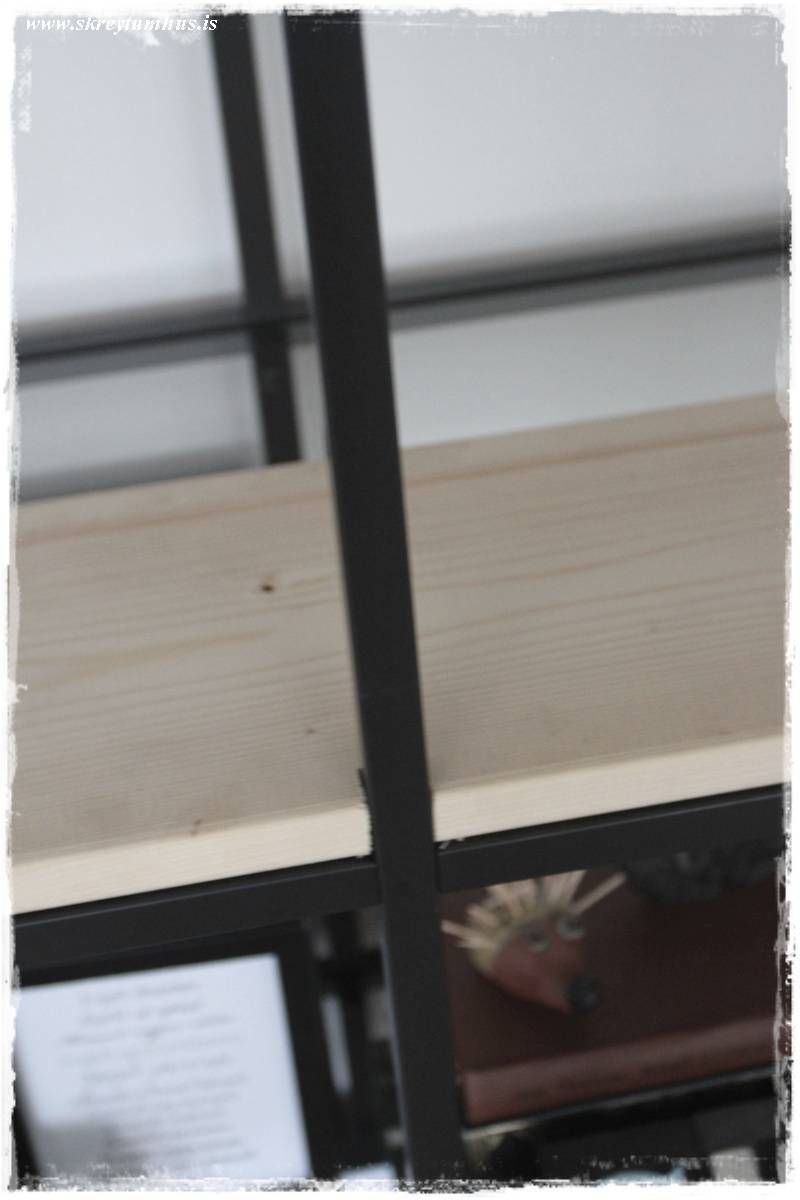
…making everything fit like a glove…
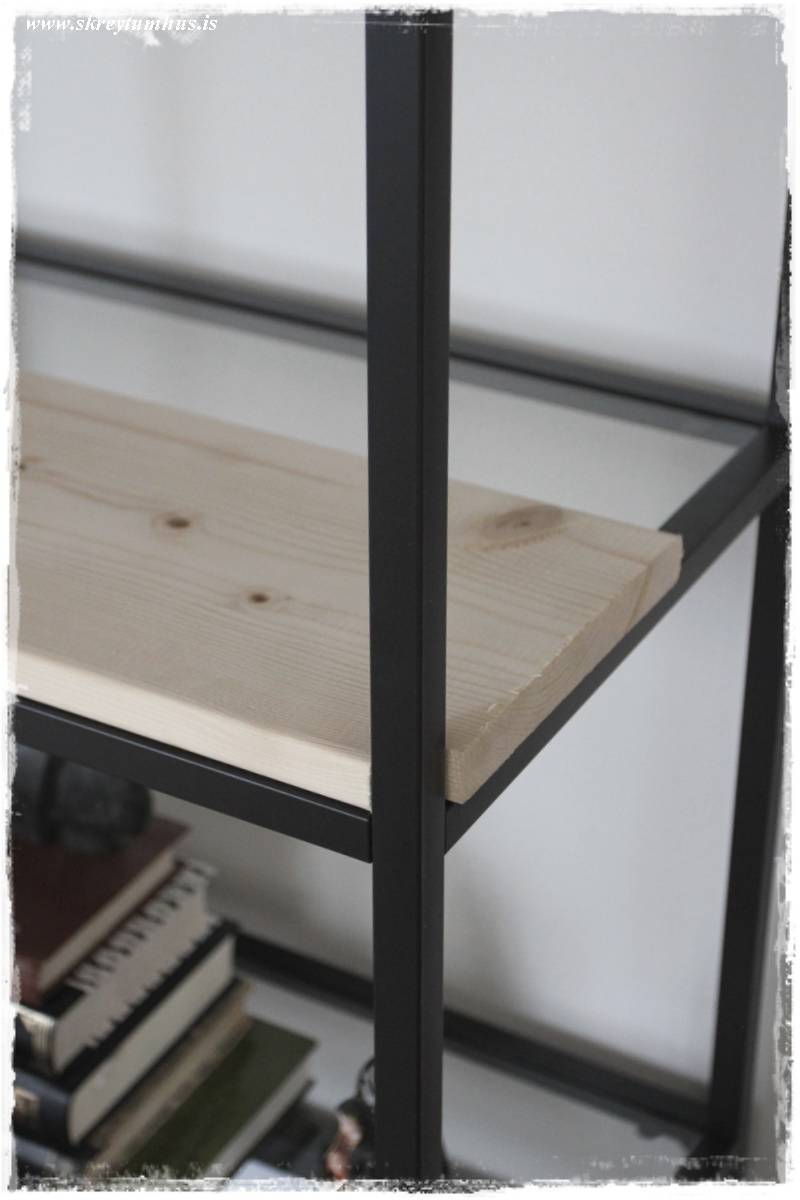
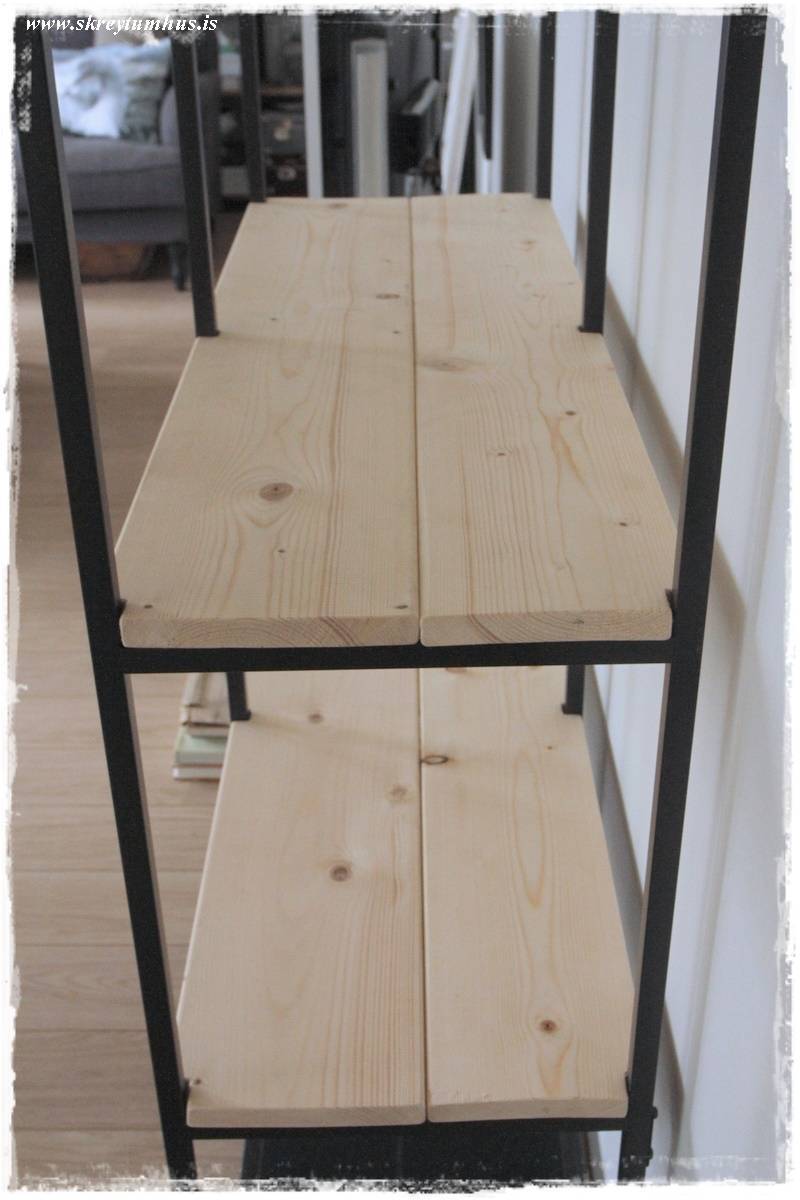
…and one by one we got the shelves ready…
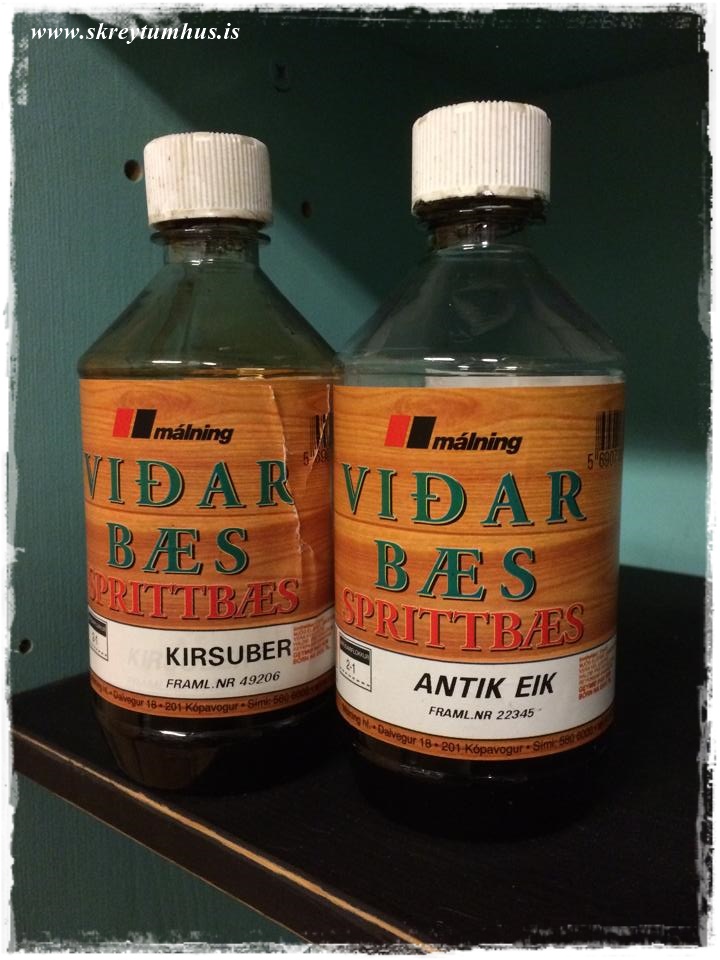
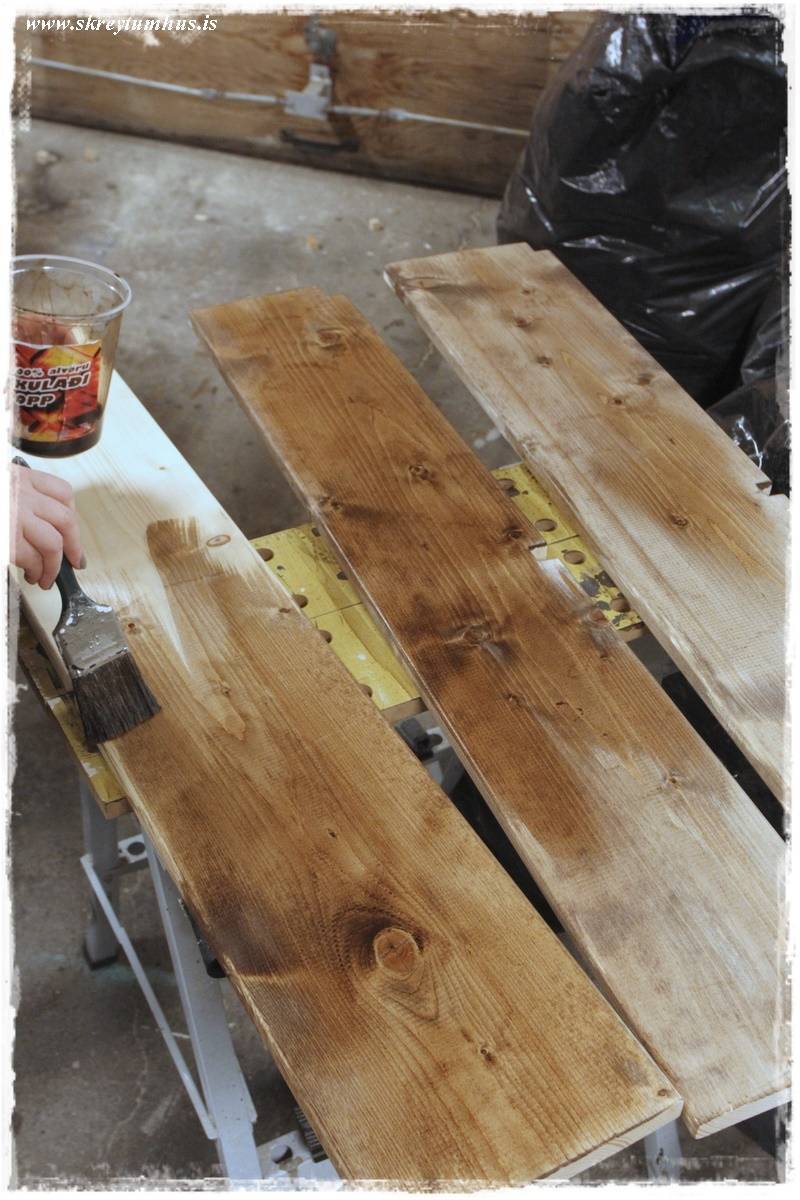
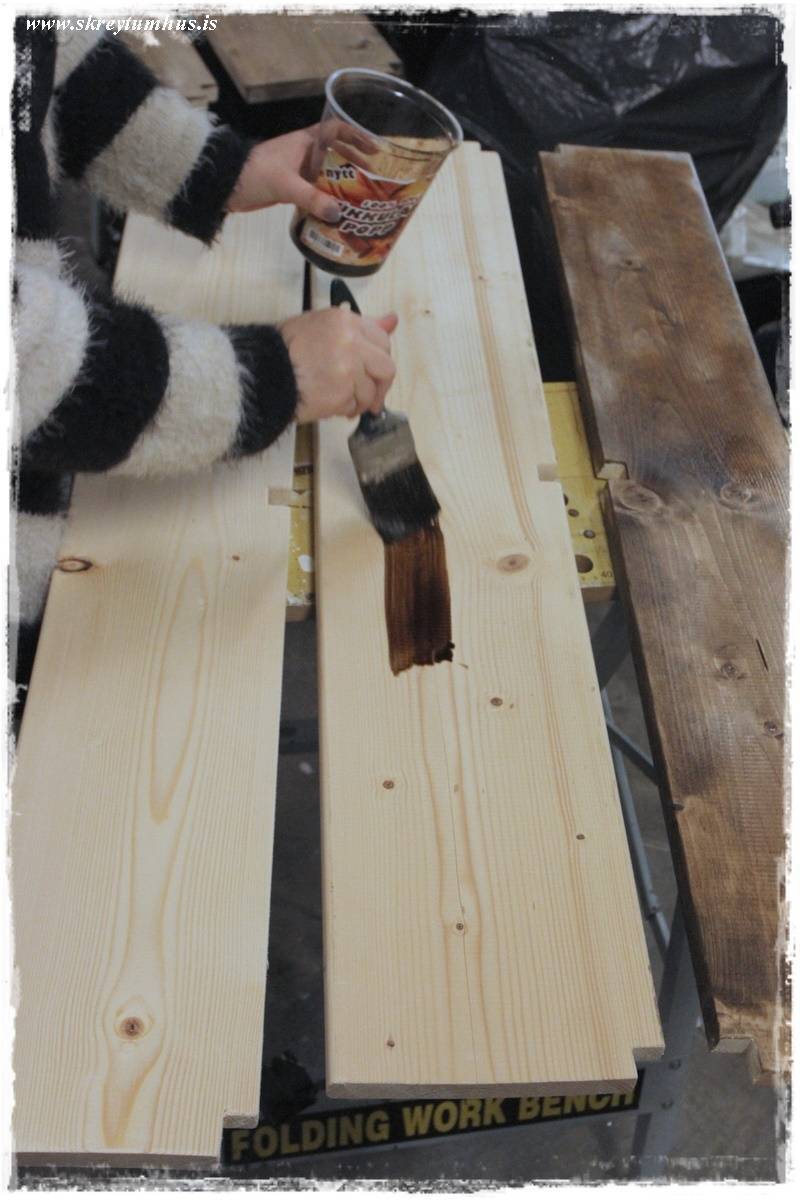
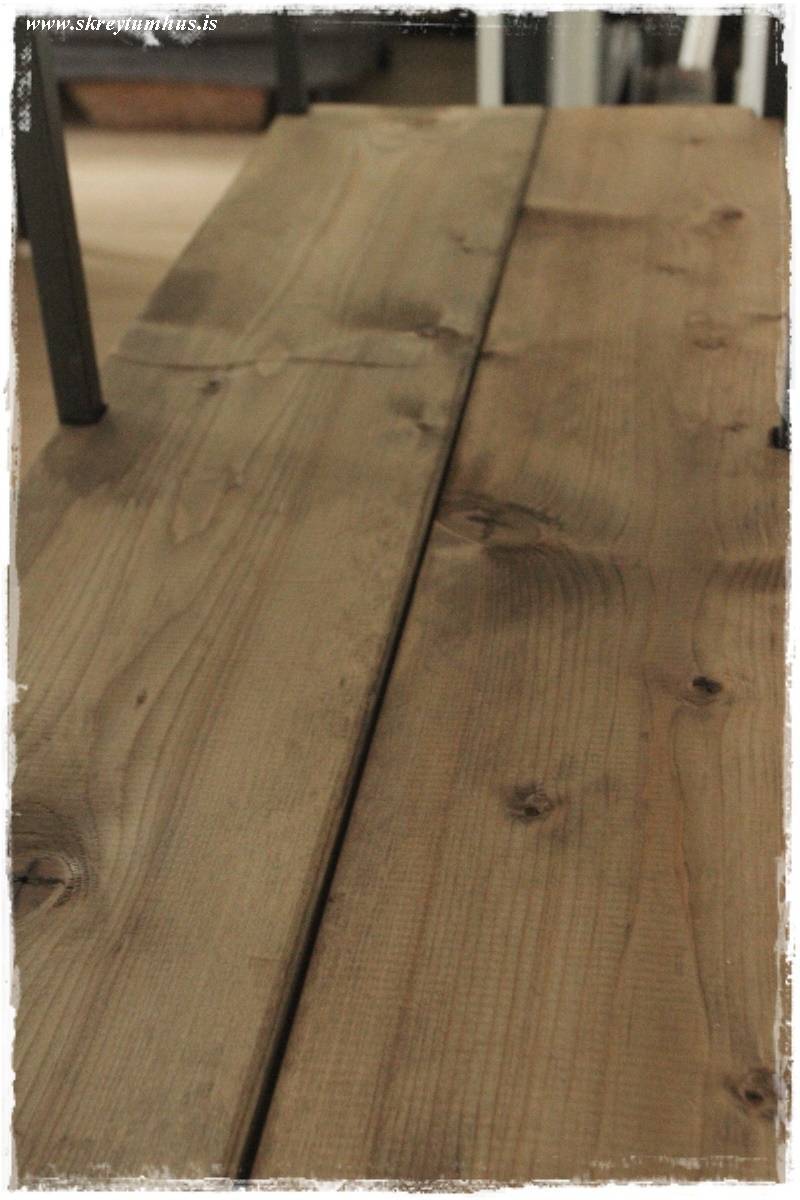
…I treated the wooden boards with wood stain, a mixed together antique oak and just a dash of cherry…
…and here you see the before…
…during…
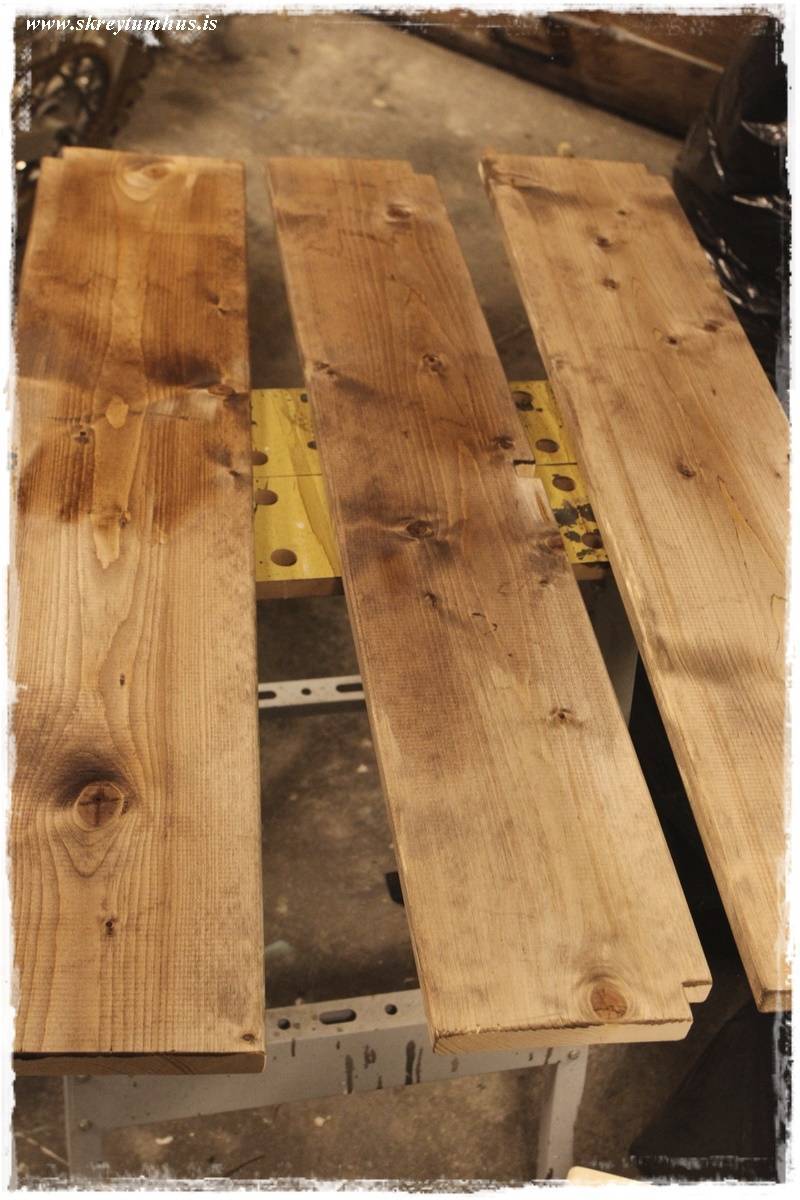
…and after!
…just one quick coat and you´re done…
…and them simply put them in the right place…
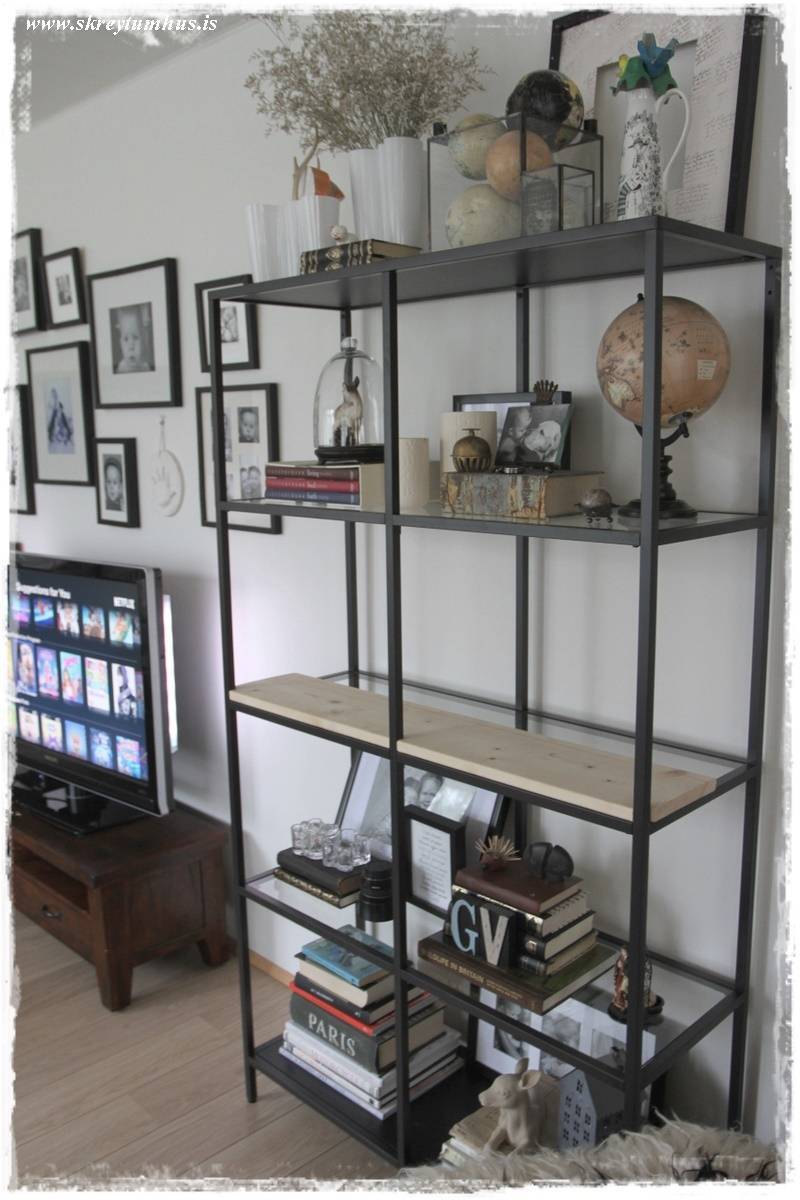
…we deceided to keep the original shelves underneath – keeping all our options open. Also we out some screws to fasten to top shelves down…
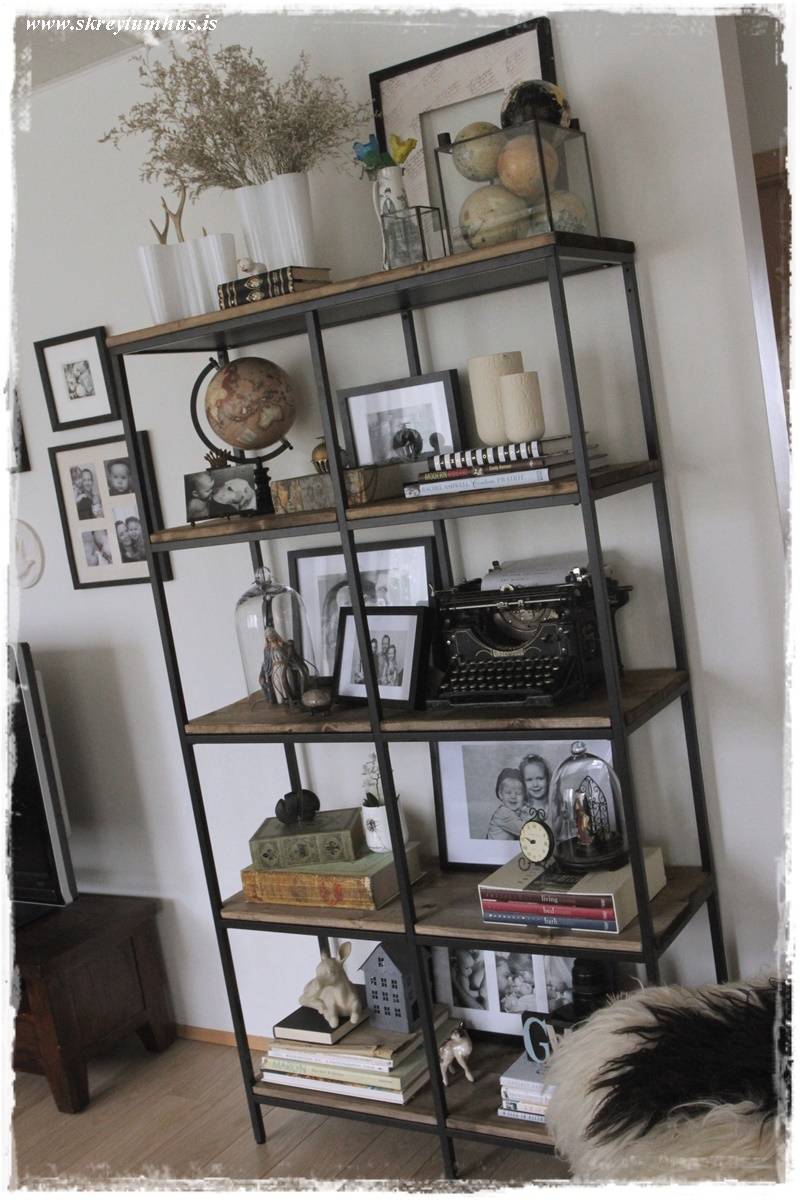
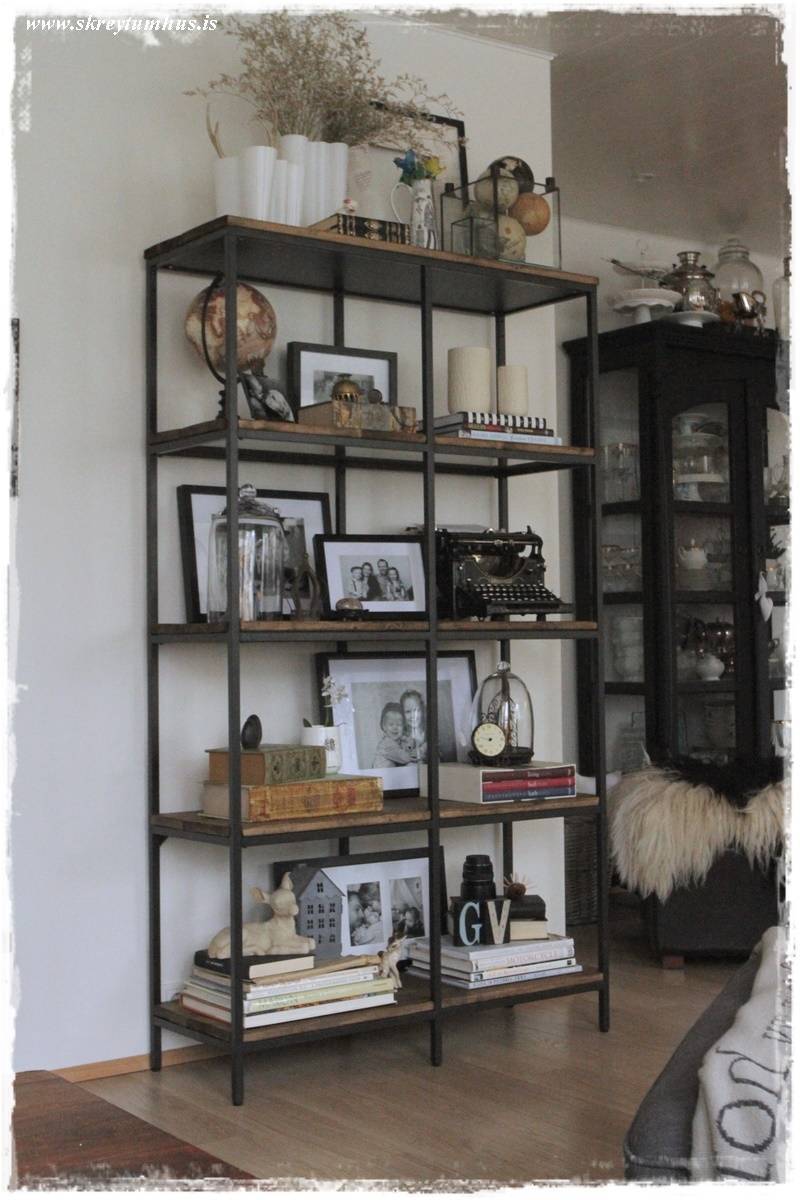
…so now here we have the final product…

…and as you can clearly see, the Vittsjö and the Hyllis are a perfect match!
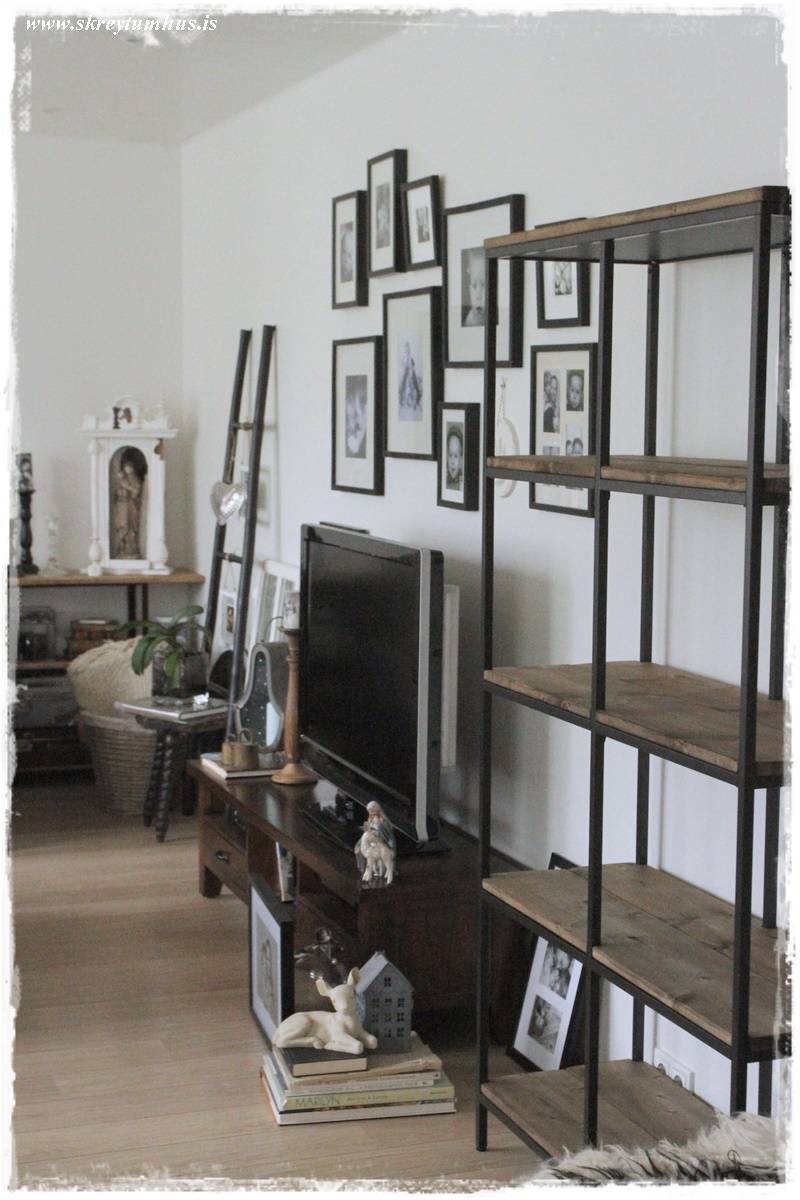
Then we style them and simply enjoy it all…
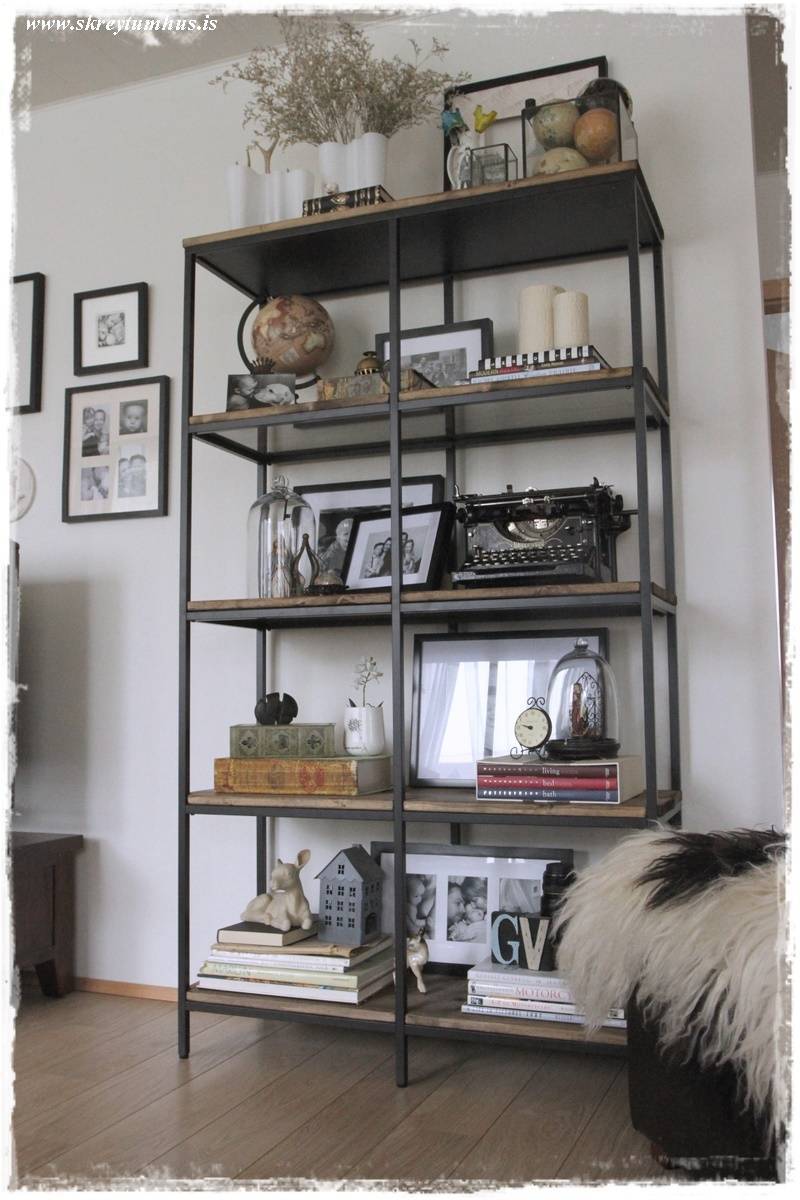
…and the shelves make everything look pretty and put together…
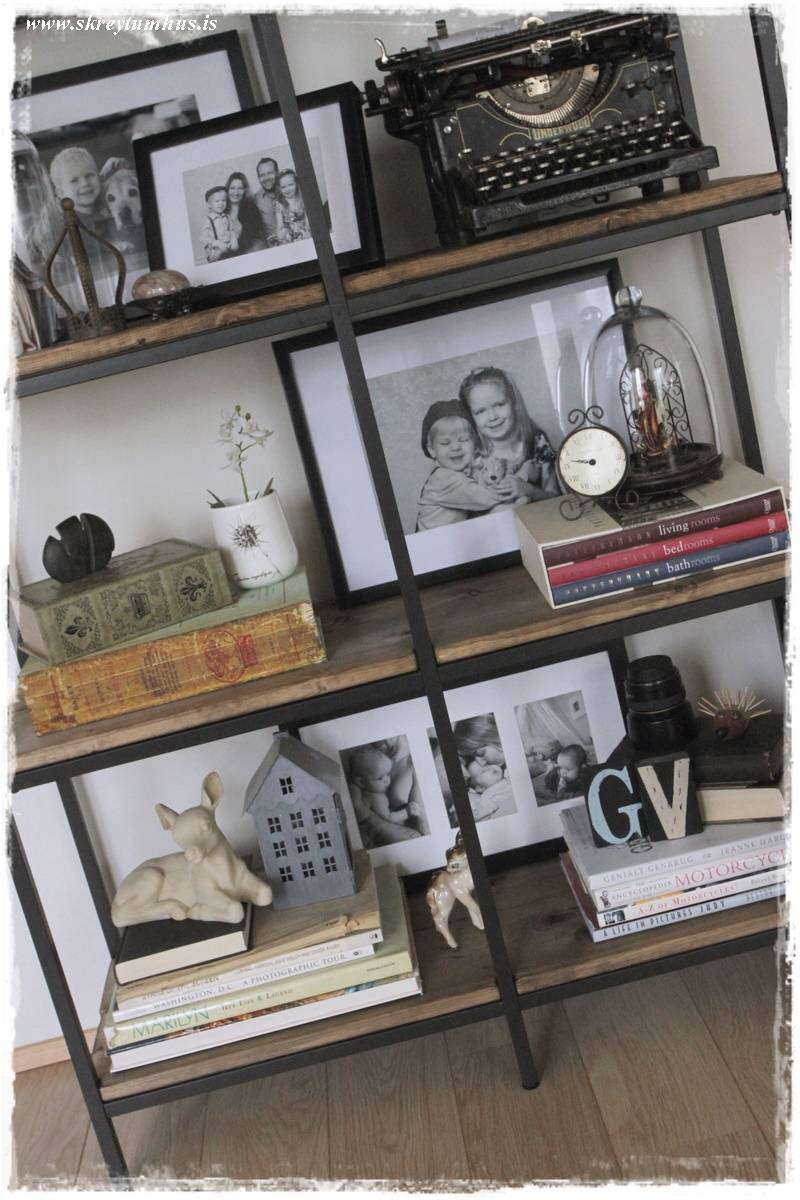
…a little bit rustic and industrial…
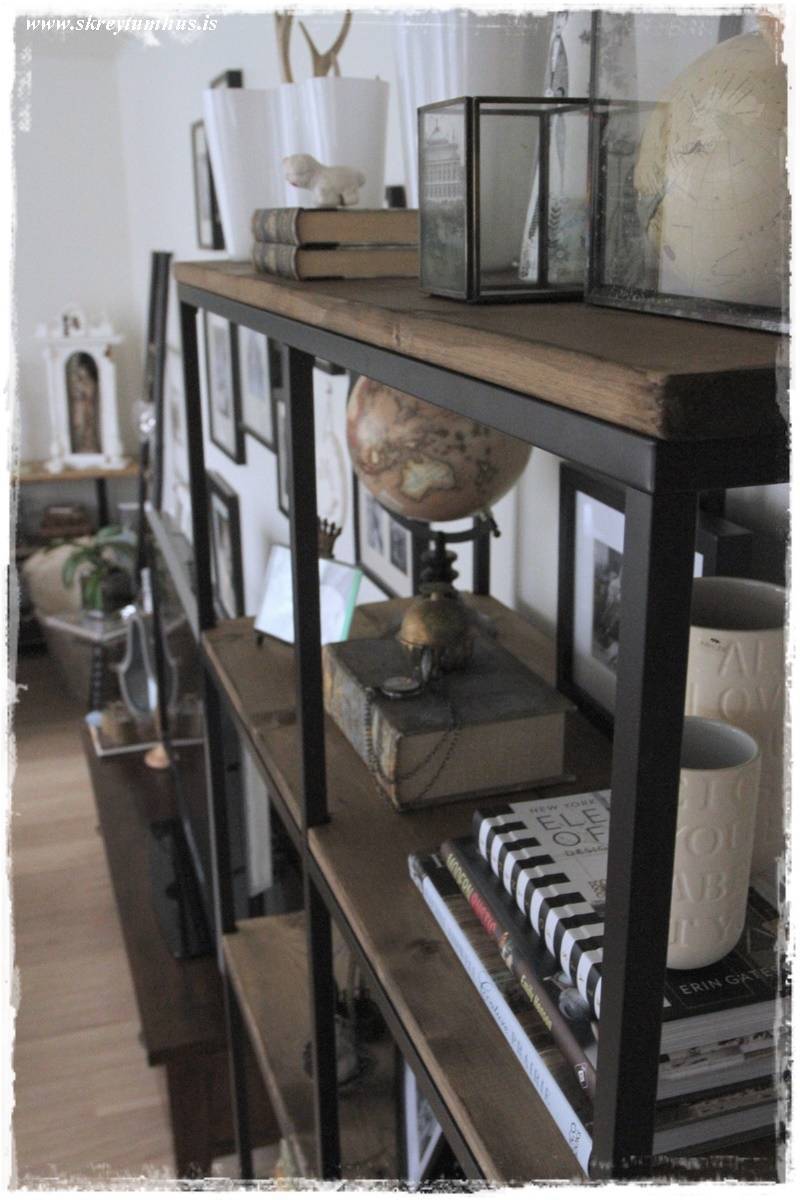
…looking good, right?
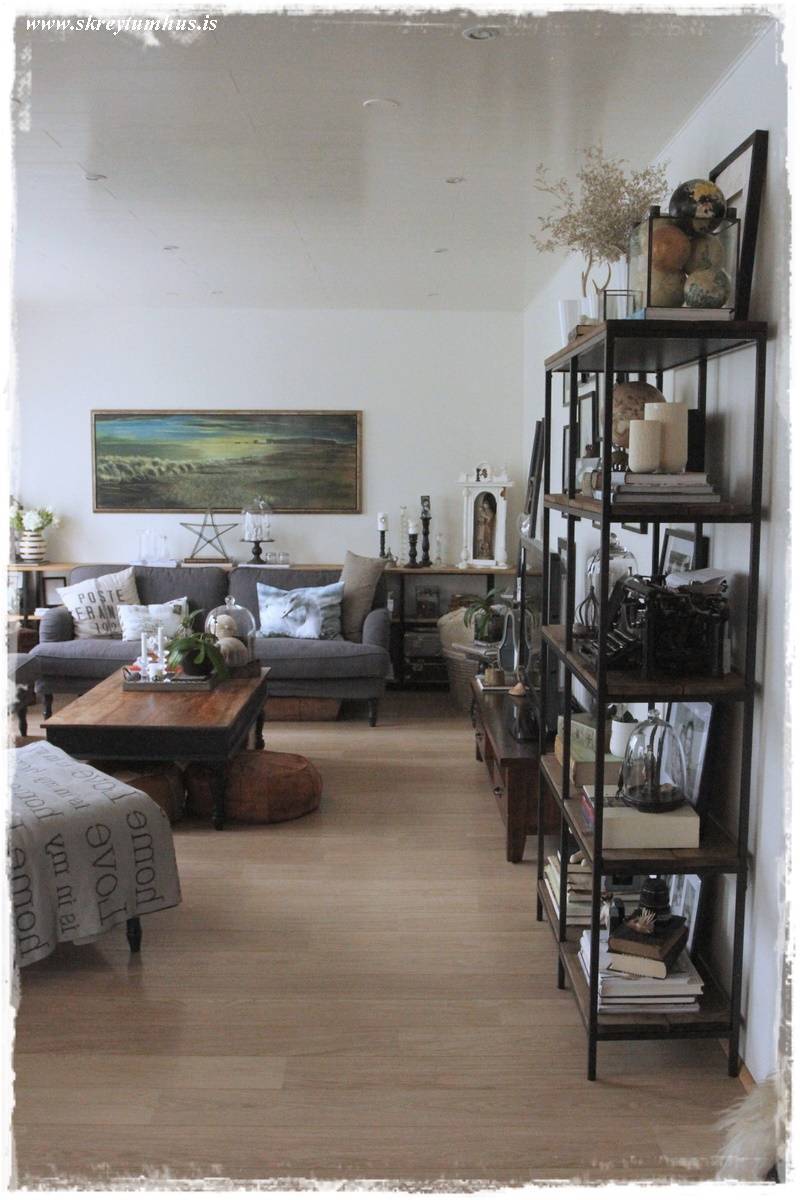
So even though its not the “same shelve” – the do compliment each other…
We love it, how about you?
Wow, just as gorgeous as the HYLLIS one!!
Absolutely gorgeous. What were the dimensions on the wood boards?
Looks great!! we are desperatly trying to find the right type of stain to have a similar look. Could you specify what stain type you used (since we dont get same brands here and its impossible to find a good online translation of whats written on the can …). Thanks!!
WOW IS AMAZING!!! COULD YOU GIVE ME THE SIZE OF THE WOODS?
Thanks Ana. We simply measured the shelves and cut them to the length that we found to be most agreeable. I recommend you do the same as it varies what wood you use and how it would look best!
This looks fantastic! What a brilliant idea. I am going to use it for a solution to my living room, I cannot thank you enough!
Fell in love with this idea, I immediately went to Ikea to give this hack a try. However, I need a little help I was wondering what wood was used and measurements ? Hope to hear from you and again it’s an amazing idea.
What tool did your husband use to cut the squares out of the wood boards for the perfect fit?
Im sorry, I dont get it – did you screw the top shelf? And also what measurement (deapth) did you cut your wood to? It looks like one board is thinner than the other is that correct, and if so, why? 🙂
Hi – for those of us without husbands – I would also like to know how your husband cut the notches in the boards! That’s the only part of this project I would not be able to do myself…
Great hack. Gonna try it for sure! I love a natural wood look and instead of staining it, I will use Danish oil. Just have to find pieces with a nice grain.
To the other posters with questions about the boards. You can really do whatever you want – Home Depot fir boards come in 2, I think 6, and 8, 10 or 12 but the actual size is 7.5, 9.5 etc.
The Ikea site says the depth is 14.125 inches, so you can do two 8 inch boards and have one cut lengthwise to 6.625 to fit, or cut a 12 inch one to 10.625 and fit it with a 4 inch one etc.
Each one would look good I think, depending on where it will be placed.
Thank you so much for your post!
I replicated the process with 3 sets of Vittjso bookshelves side by side to make a full feature wall.
I live in the U.S., so I ended up using the Common 1 x 8 inch (actual size 0.75 in. x 7.25 in.) Poplar boards from Home Depot. I cut each board lengthwise so each board was the same depth from the front of the shelves to the back and then cut all the notches with a small jig saw.
For those asking about cutting the notches – you can do it, but it just takes a little patience. Measure the area of the cut and mark it with a pencil. Cut down the left and right sides of the notch, then back out the blade. Next, start at one side and cut diagonally to the opposite interior corner. From there, go slow and continue to cut of the remaining scrap until you get the notched out section as square as you can. If you want to see the technique used on a larger notch, check out this tutorial: https://www.youtube.com/watch?v=8bZmaGU_etk
Plus, a flat-edge wood file (rasp) really helps to smooth and straighten the interior notches.
I also suggest you test fit each board on the shelves after cutting to ensure a good fit. I had 30 boards (3 sets of 5 shelves with 2 boards each), so I numbered them (Shelf 2 Front, Shelf 2 back) and made sure each fit on the shelf with the other.
After 3 rounds of sanding all surfaces, I used 1 coat of Varathane Wood Conditioner designed gel stains, and then I used 2 coats of Varathane gel stain in Dark Walnut. My shelves turned out a little darker than those in the original blog post, but I got the color I was going for.
I love the way my shelves turned out, and I can’t thank you enough for the wonderful inspiration! Many thanks!!!